


【Warudo PRO】 Round Stage Set
Ideal for Mini-Concerts / Dance / Music Streams!
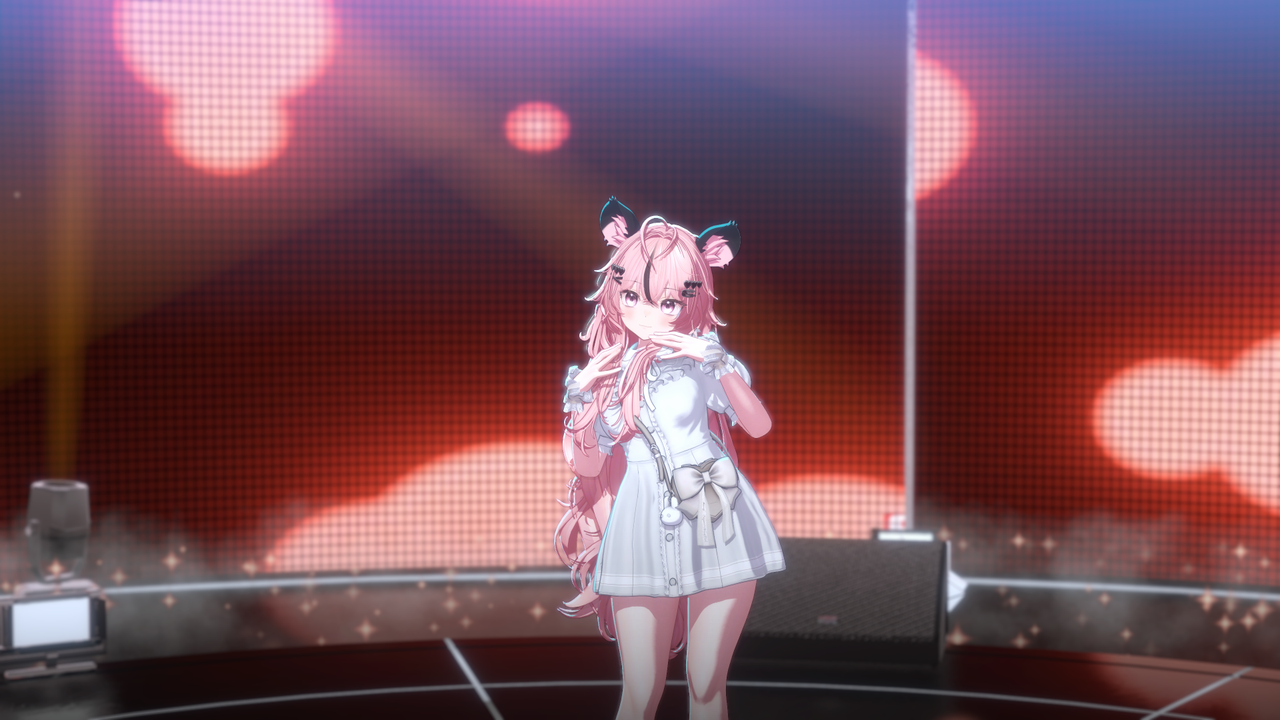
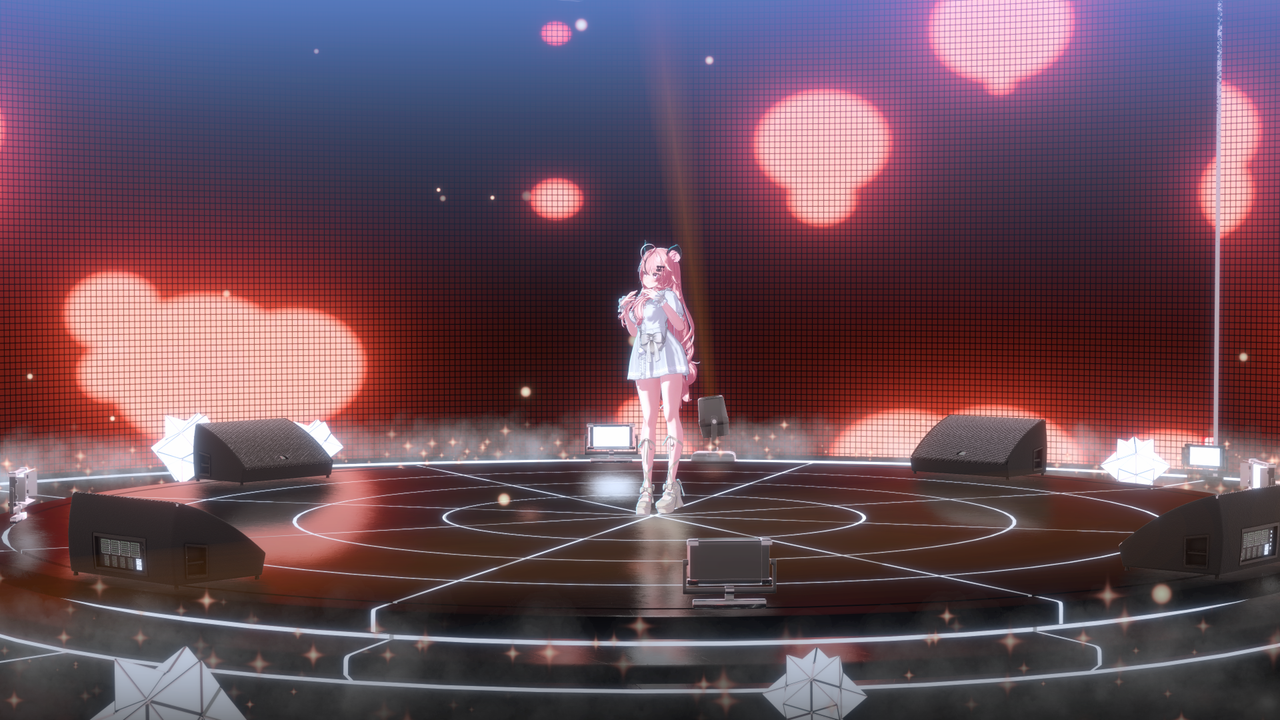
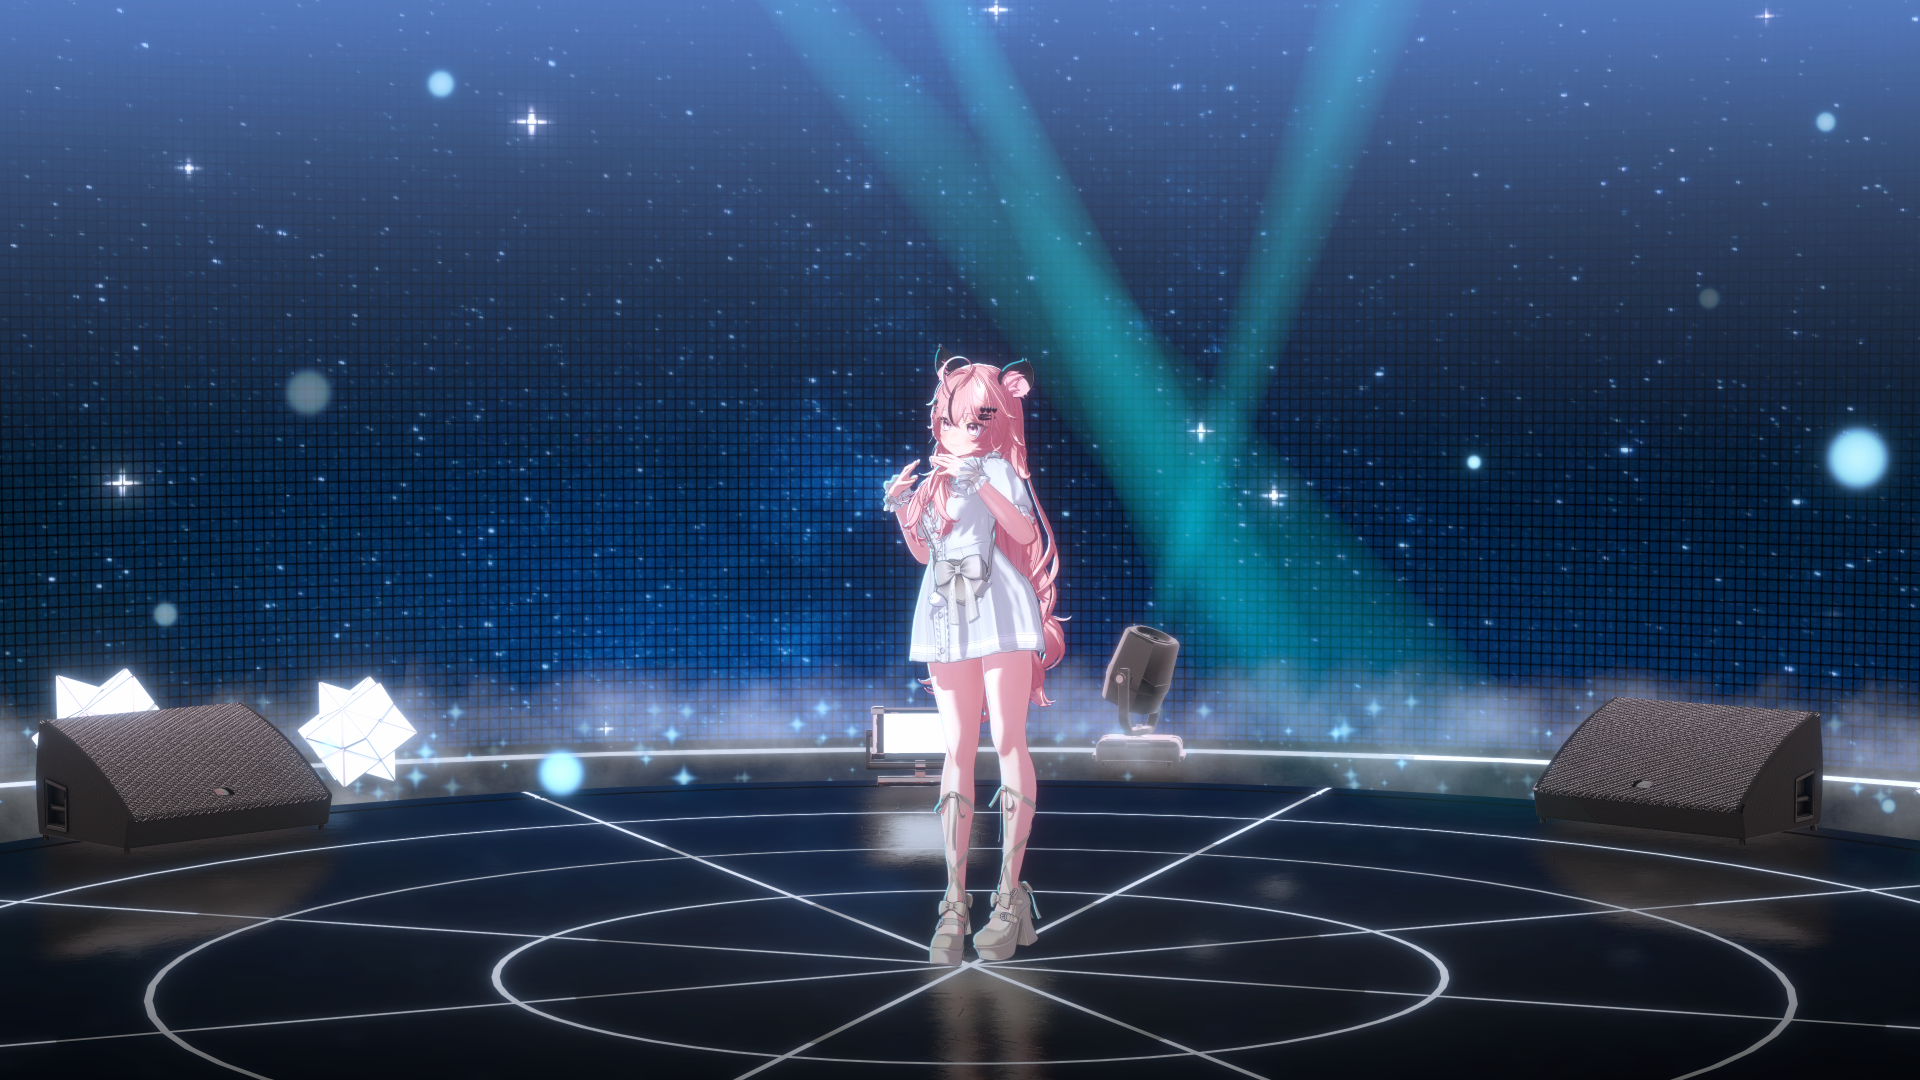
This is a versatile stage background for Warudo that can be used for mini-concerts, dance performances, music broadcasts, and more.
It is designed with 360-degree rotation and top-down views to ensure easy camera manipulation during personal broadcasts without any visual obstructions.
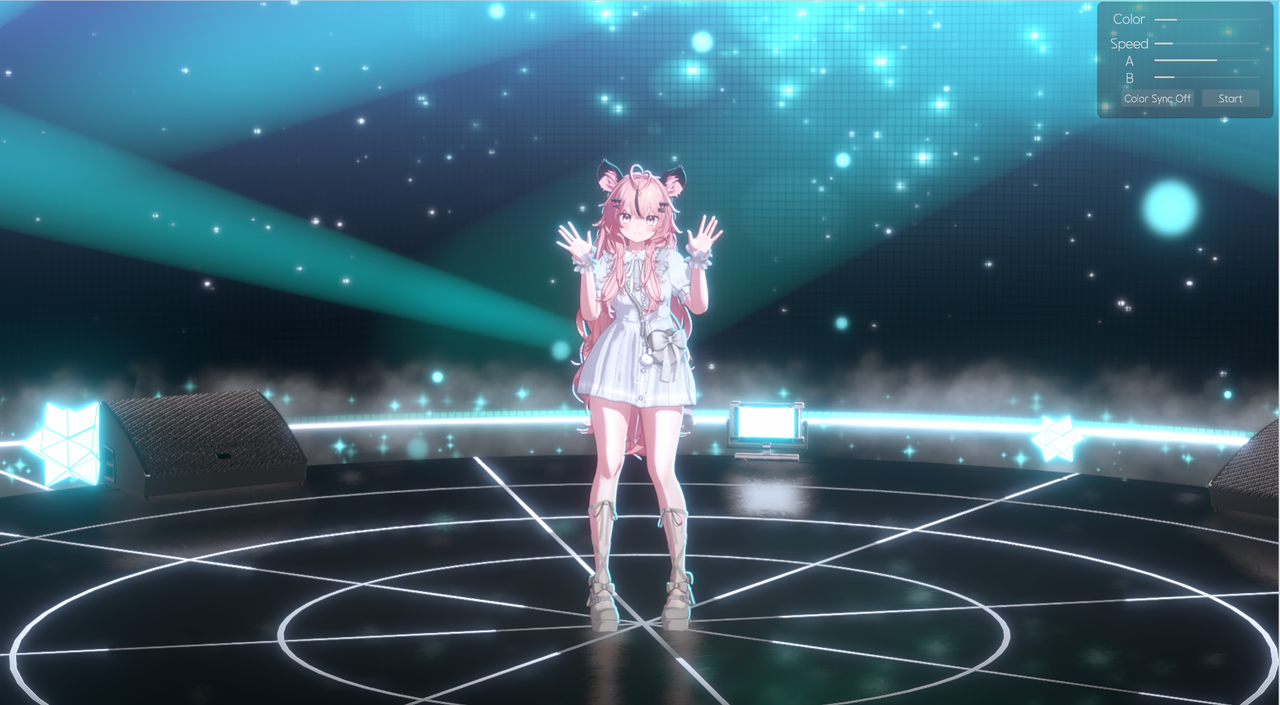
By utilizing Screen Assets and the blueprints created by Studio Raming, you can display your computer screen or specific windows directly onto the in-stage monitors.
You can sync the lighting colors by calculating the average color of the screen or manually control the light movements and colors through the provided GUI!


⚠ Please Read Before Purchase
- Please ensure you check whether you are buying the Regular or PRO version! This page is exclusively for the WARUDO PRO version.
- Backgrounds and props will not be displayed correctly in incompatible versions.
- Due to the nature of digital goods, refunds are not possible once purchased. Please review the videos and photos carefully before buying.
Recommended Specifications
This stage was developed on an RTX 3060ti environment.
Recommended GPU: RTX 3070 or higher
※ Running other high-spec programs or games simultaneously is not recommended.
Warudo Background Setup Guide
Quick and easy environment setup using the Studio Laming Plugin
1
Warudo Background File Setup
By using the Studio Laming Plugin, you can enable automatic downloading and setup of background files.
1. Open Data Folder
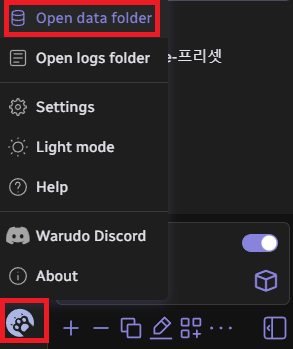
 Click the icon in the bottom-left corner of the Warudo editor and select 'Open data folder'. Then, copy the path of the StreamingAssets folder.
2. Run Auto-Merge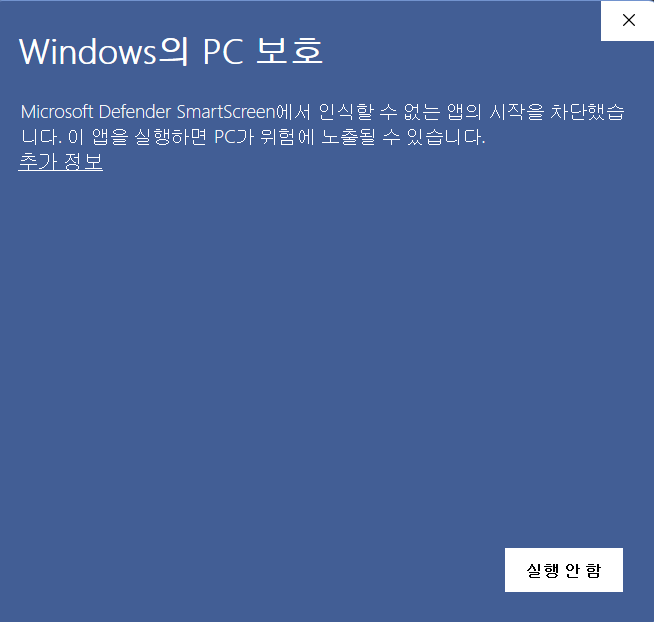 Run the executable file (.EXE) included in your download. If a security window appears, click "More Info" and then select "Run anyway."
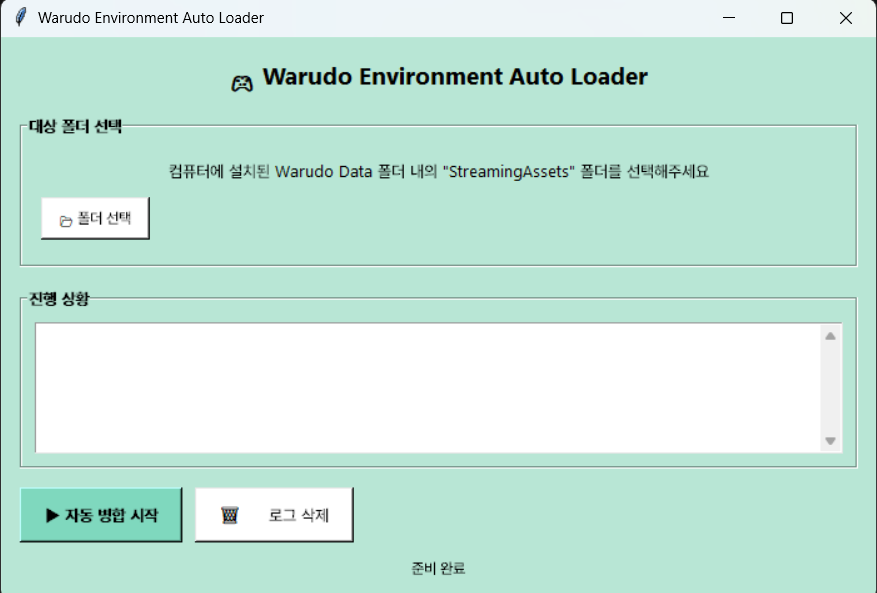 Click "Select Folder" (폴더 선택) and paste the path you copied. Then, click "Start Auto-Merge" (자동병합 시작). The files will be placed in their correct locations automatically!
2
Warudo Environment Setup (Plugin)
1. Subscribe to Plugin
Subscribe on Steam Workshop
Please subscribe to the Studio Laming Plugin on the Steam Workshop.
2. Check for Icon
Once subscribed, the Studio Laming Plugin icon will appear inside Warudo.
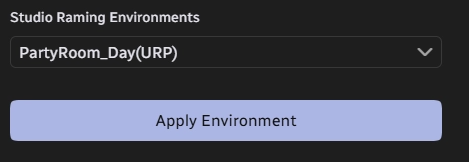
3. Apply Environment
Select your desired background and click Apply Environment to complete the setup.
4. Screen & Blueprint Setup
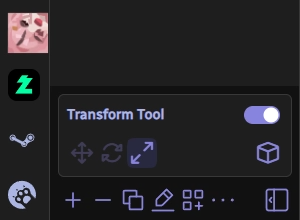
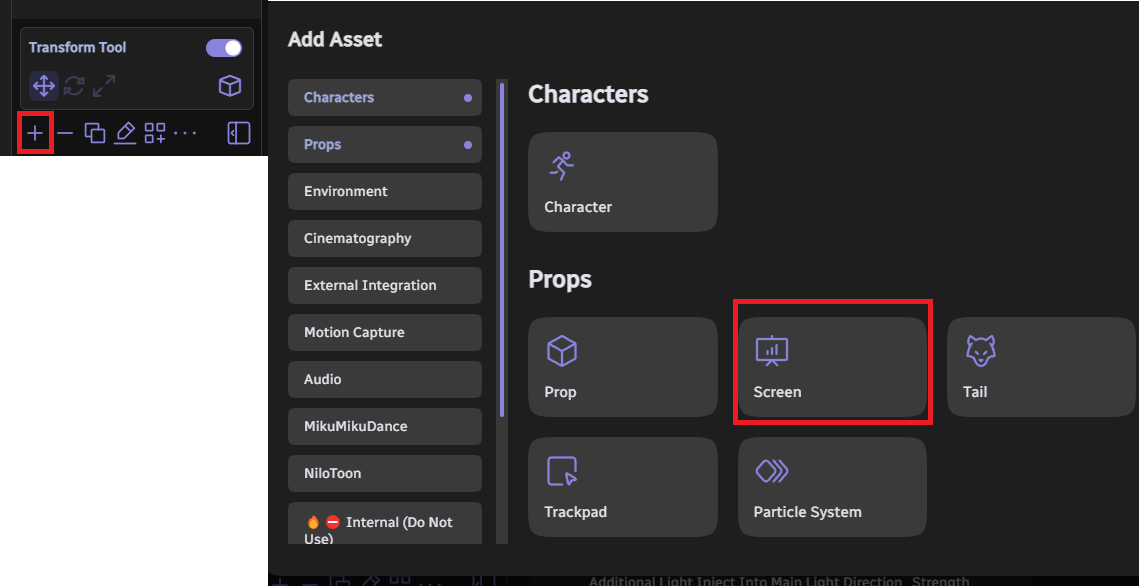 Click the "+" button in the editor and add a Screen Asset.
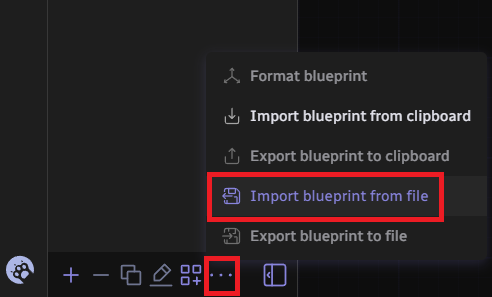 Click the "..." in the tab and select "Import blueprint from file". Choose the blueprint from the RoundStage(URP) > INPUT_BLUEPRINT folder.
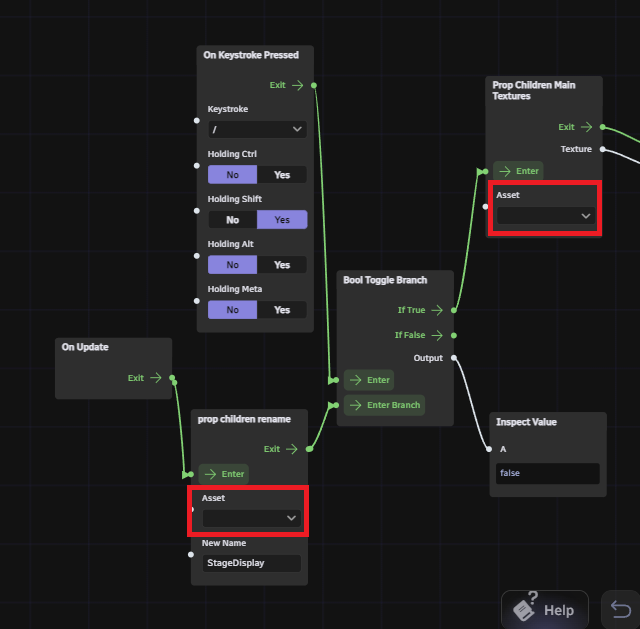 Once the blueprint is added, change the two parts highlighted in the red rectangles to your newly added "SCREEN" asset.
※ If any connections are missing in the boxes on the right, please reconnect them manually.
5. Final Screen Configuration
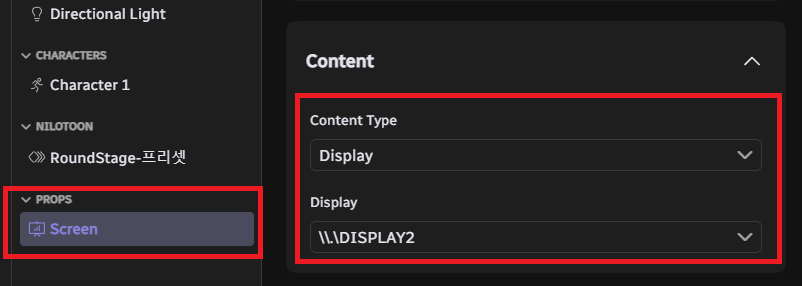 Set the Content of the Screen Asset to whatever you wish to display.
・Designed for 16:9 full-size aspect ratio.
・Supports Display / Window / Browser / Image / Video.
・Spout/NDI is NOT supported.
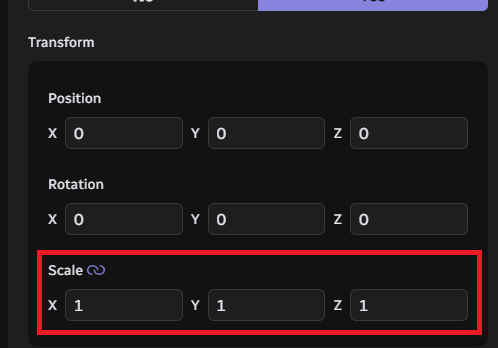 Once you confirm the screen is working, change the Scale of the Screen Asset to 0, 0, 0 to hide it (the content will still appear on the stage mesh).
GUI Controls & Operation
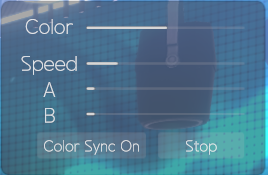 Color Sync On: The lighting colors will automatically reflect the dominant colors of the screen.
- ※ If it doesn't react, press Shift + / to activate the function.
- Color Sync Off: Disables color syncing, allowing you to manually control the spotlight colors using the Color Sliders.
- Speed / A / B: Use Speed to adjust light movement speed, and A/B to adjust the rotation range of the spotlights.
© Studio Raming. All Rights Reserved.